The Ultimate Guide to Building a Golf Simulator
THE ULTIMATE GUIDE TO BUILDING A GOLF SIMULATOR
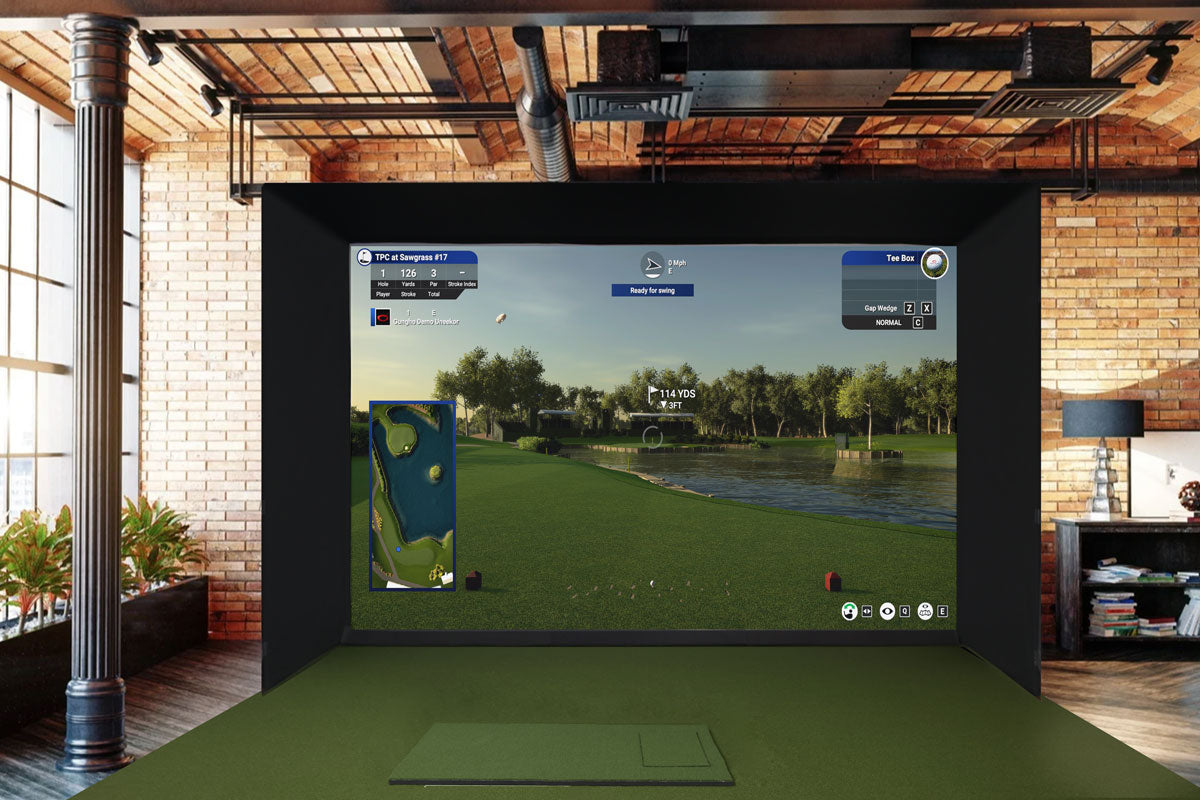
Are you thinking of putting together a golf simulator but don’t know here to start? Well, you have come to the right place as there are a million articles and suggestions out there on how to get this process started and it all can be very overwhelming. But look no further as this article will have everything you need to get this process going!
Do I have enough space for a golf simulator?
Golf simulator rooms can come in many shapes and sizes. The ideal room would be 16’ wide, 18’ long, and ceilings at 10’ tall. This will give you a center hitting position without having to have an offset hitting location to avoid hitting walls in your backswing, it will also give you the space needed for all launch monitors including radar units (Trackman or Mevo+) which will sit behind the golfer while hitting 10’ from the screen. People that are not lucky enough to have this large of a simulator room still have hope! We have put a golf simulator in rooms as small as 11’x15’, although this is a tight space and there are some complications that come with it, but it is possible! Typically in these small rooms we will have to have the hitting position off center to ensure we have at least 7.5’ behind the golfer and 6’ to the back wall. This will allow a golfer to complete a swing without making contact with any walls. If you are needing left and right handed golfer in a small space, we have found great success in placing two separate hitting locations in the same room to accommodate this. The only thing to think about is making sure that the two hitting locations are not in the way of the stance area of each golfer!
What screen/enclosure style should I go with?
Picking what style or method you want to go with for your screen is a big decision and there is a lot to think about when deciding this. Some questions to ask yourself are: Is this going to be a permanent set up? Do I need to use this space for other activities as well? A lot of people like to take advantage of the space they have in their garage as these spaces typically have wider and deeper dimensions than in their house. The best solution for a garage golf simulator is the Gungho Golf retractable screen system as this allows you to have a full screen system drop down with just a click of a button right in your own garage or any room where having the screen disappear would come in handy.
Transforming a space from a golf simulator to anything else that you need it to be has been made so easy with this system! One of the best places to install this system to hide it even better is having it drop right in between the garage rails. As long as you have about 8” of clearance to ensure the roller tube and screen can roll up and not rub on the garage, this is a great place for the retractable system! One thing to think about if wanting to mount the system between the garage rails is to move the center rail and motor to a side lift which will free up a ton of space for the golfer's swing, mounting a projector, and allowing the screen to drop in between the rails. The system also has the option to include black side rollers which will catch any shanks or mishits that may happen and also sync with the main screen to roll up and down with one click of a button.
One of the most popular styles of screens are EMT pipe enclosures! These are great for any type of golf simulation room. These types of kits are a great and affordable option to transform any area to a golf simulator studio! The Advanced DIY Kit from Gungho Golf is the perfect solution for rooms that may have very high ceilings where a retractable system or built in screen may not be an option. These structures are built from 1” EMT pipe and constructed together with special splicers to custom make them to whatever width, height, or depth you may need! Enclosures provide great side wall and ceiling protection from wild hit golf shots and the black surrounding material will provide a great environment for a projected image to be as optimal as possible if you are unable to control the lighting in the room you have placed it in.
Another great option for a screen system is a built in golf screen kit. This is great for customers that want to utilize their space they have as much as possible. With them method you would use angle iron that would ran 18” off the wall you will be hitting into, then you will attach your custom made screen that you receive from Gungho Golf that has velcro sewn on the top back of the screen to the adhesive backed velcro you place along the angle iron. Then the bottom will be attached to a piece of 1” EMT pipe with the velcro that is sewn on the bottom of the screen as well. The EMT pipe will have a roof corner connector used to construct enclosures that will then be anchored to both the left and right wall with metal conduit straps. Once attached, you will roll the screen to create tension and then lock the EMT pipe into place with screws in the roof corner piece once you have achieved the desired tension on the screen. For the side wall and ceiling protection, we like to use 12”x12” black acoustic foam tiles and custom foam wedges to run along the border of the screen and come out about 5’-6’ from the screen. This system looks very professional and will wow anyone that comes over to play on your golf sim!
What launch monitor is best for me and my needs?
This is one of the most important decisions you will make in your golf sim build as this is the device that will read all your shots and generate your data. There are a lot of things to think about when choosing what launch monitor is best for you. Do I want to have the ability to take it to the range? Do I want club head data(angle of attack, swing path) or just the basic data(distance, backspin, ball speed)? Do I have enough space for a radar unit that needs to sit 7’ behind the golfer? Am I going to have left and right handed players playing together? All of these are great questions to ask yourself when choosing a launch monitor!
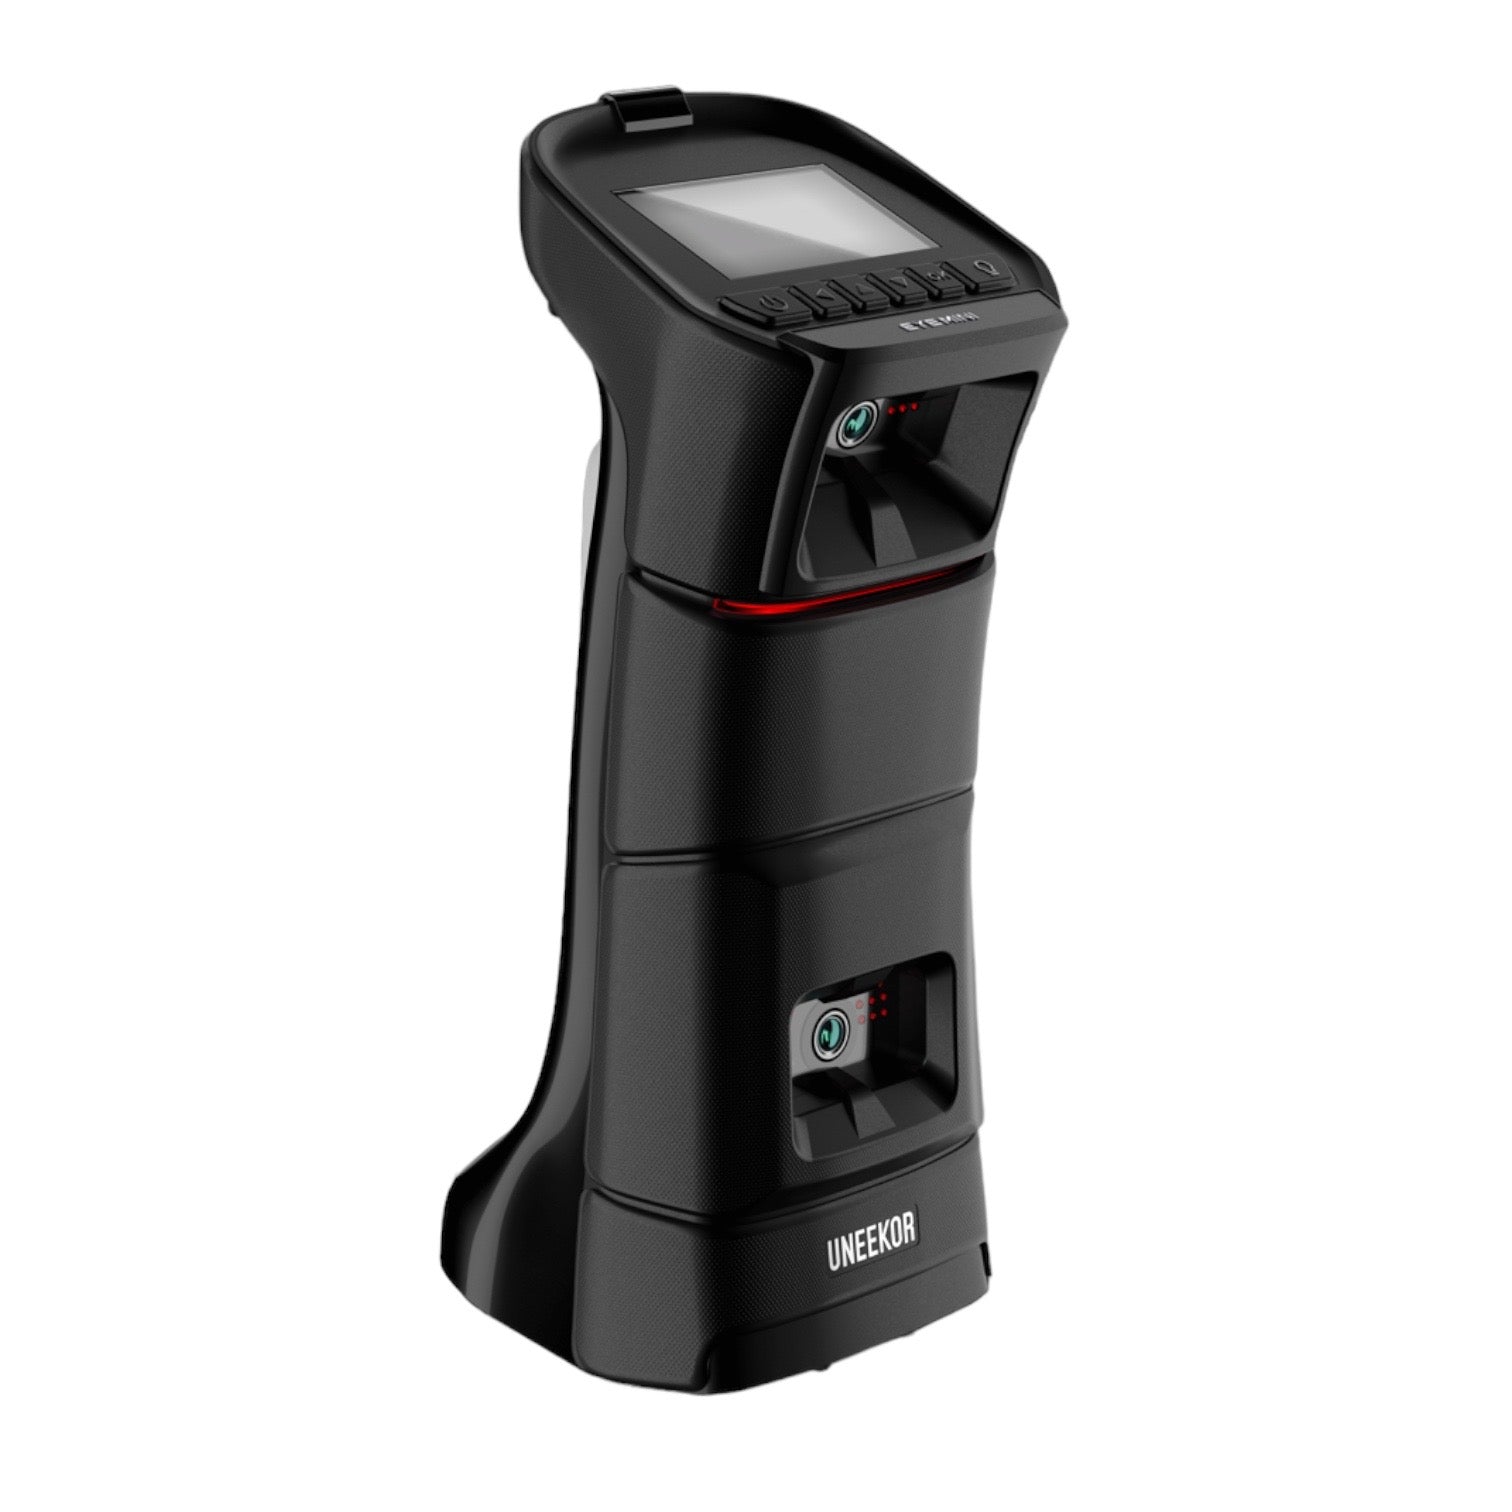
Most launch monitors you can take to the range, but there are some that are ceiling mounted and do not have the ability to be used outdoors. Units like the Uneekor EYE XO are great launch monitors that are mounted on the ceiling that give amazing ball and club data but you are not able to take it to the range. Knowing what your intentions are for this golf simulator is a great thing to ask yourself as well. Are you looking to dial in your swing and really analyze yourself to get better? Or is this more of a relaxing add on where all you are needing is the basic data like distance and back spin measurements? The best thing to do is to contact a product specialist at Gungho Golf let them know what you are looking for and they will let you know the best unit for your needs! Not all launch monitors read the ball data the same. Camera based units are typically set next to the ball and generate data from taking multiple high speed pictures of the ball and do not require a lot of space to capture this data. Units that use a radar sit behind the golfer about 7’-8’ and emit electromagnetic waves and observe for changes in the properties of the reflected waves (wavelength in particular) that return to the unit. The launch monitors are able to turn this data into measurements for the ball’s spin, speed, trajectory, and more. If you plan on taking the unit to an outdoor driving range, typically radar units are the best performing because it follows the ball until it lands but also performs great indoors.
Another feature to think about is if you have a regular visitor that may be left handed. This is important to think about because if you have a launch monitor that sits opposite of the golfer on the floor, you will have to change over the position of the launch monitor to the other side of the hitting area which can become a pain. Launch monitors that are either sitting behind the golfer or are mounted on the ceiling make this much easier and give you more freedom when playing with both dexterities and you do not have to ever move it!
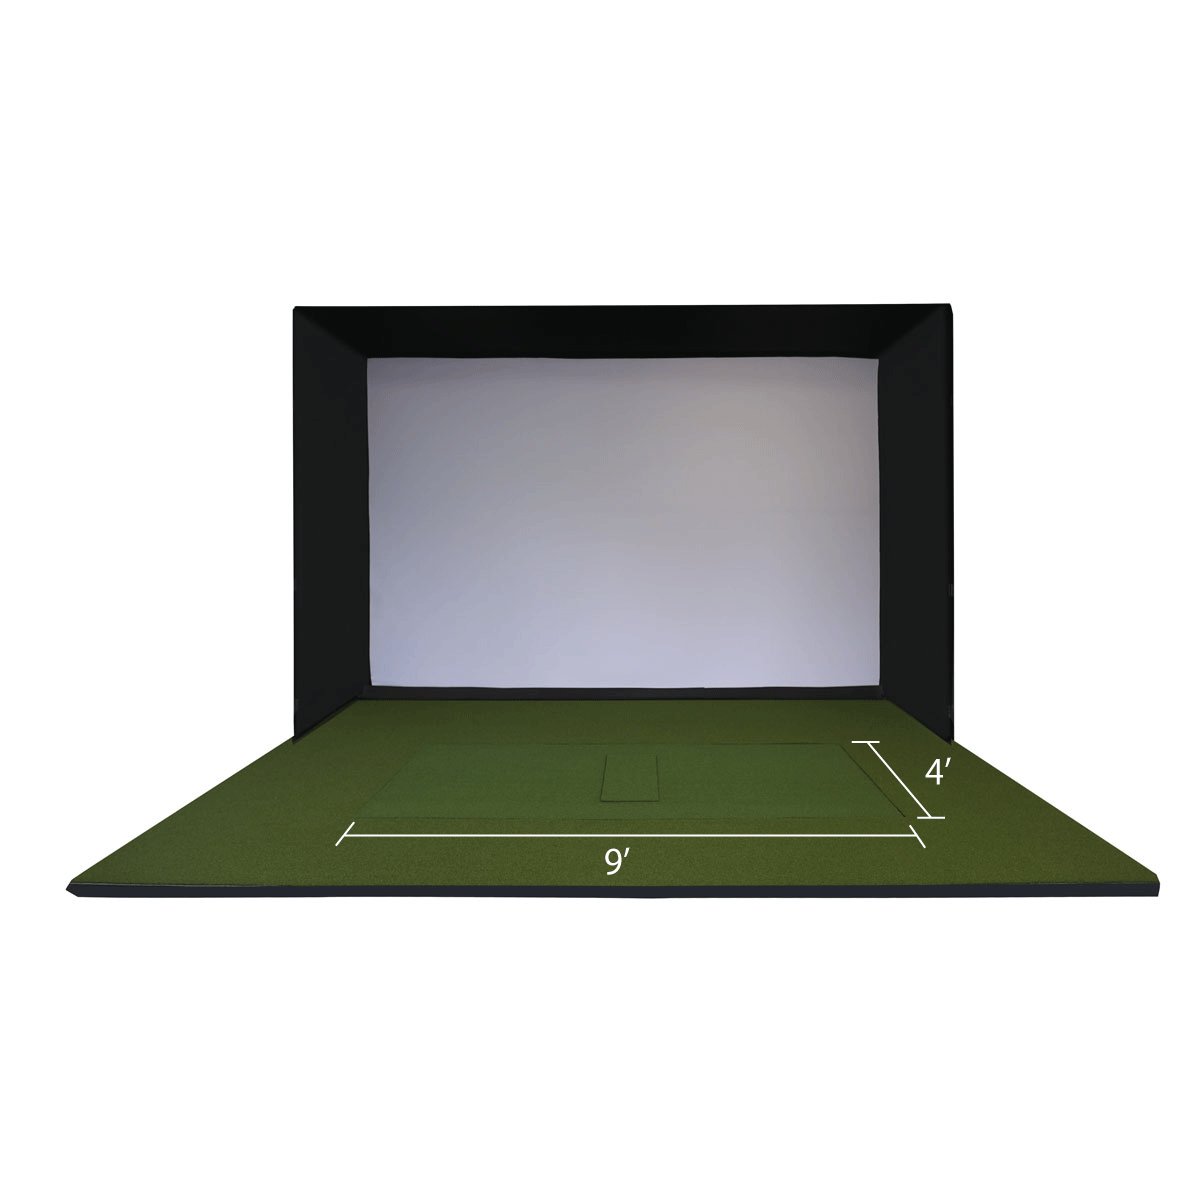
What is the best flooring and hitting mat solution?
The flooring for your golf simulation studio can make a huge difference in your experience and overall look. If you are needing to be able to remove the hitting area frequently, the best solution is to get a Holy Grail Hitting mat from Gungho Golf which is a lightweight mat and can be folded up to store away when not in use! One thing to consider is that when you are using your system, the area between the hitting mat and the screen will need to be padded to catch hit balls coming off the screen. Using GrassTex Money Putt turf to help control these loose balls is a great way to complete the “golf simulator look” even if you are needing to put these items away often. Fold up the mat, roll up the turf, and you are good to go! For more permanent installs, the best look is to turf the entire area of the room and install a Holy Grail Hitting Stirp inside the turf. Installing the turf from the wall to wall width of the room and back about 15’. What you will do is raise the turf up on 1” EVA foam tiles which will give the turf a total height of 1-3/8th” and match up with the hitting strip that will be cut in. This method will make a golf simulation room look very professional and pleasing to the eye.
What kind of projector is best for me?
Choosing a projector can seem daunting at first but let's make it easy! The first decision will be if you want a 4K or HD image quality. 4K is going to be the best image quality for a golf simulator but will come at a higher price tag and require a better graphics card in the gaming PC you will run your system with. A lot of people get lost in the aspect ratio and finding the right screen size for the aspect ratio they desire. But, when running your system with a PC, you can actually customize the aspect ratio to fill your screen perfectly without distorting the image quality.
When choosing a projector, you will also want to think about the lighting in the room. If you are going to have a darker room and will be able to control the ambient light from not leaking onto the screen, having a projector like the AH700ST(1080p) or AK700ST(4K) with 4,000 lumens will work great! If your room may not be as easy to control the lighting, the LK936ST would be a great 4K laser option with 5,000 lumens. Do you have overhead lights that you have over your hitting position and all other lights are off but there is still light leaking onto the screen? Snooting your lights with magnet strips or heavy duty construction paper is a great way to reflect the light of the screen to ensure you have the best image quality possible.
When finding the placement of the projector, we like to follow a couple of guidelines. Choose a projector with the proper throw distance you have the space for. These can vary from 5’ from lens to screen all the way back to 20’, so finding a projector that will fit in your space is very important. You will also want to keep the projector lens height to the top edge of the screen or about 3” above it. Gungho Golf can provide high quality projector mounts and extension coulombs to get the projector lens to the correct height. If you are needing to have the projector higher or off center of the screen, you will want to make sure the projector has horizontal and vertical keystone adjustment to make sure you can properly display the image onto the screen.
Should I run this on an iOS device or gaming PC?
Running your golf studio with a PC is the most optimal way to get the most out of your system. A PC allows you to use all software, and gives you the best playing experience as the processing speeds will be running much higher than when using an iPad or iOS device. Another advantage in using a PC is that you can customize the aspect ratio in the graphic card setting to ensure that your screen is completely filled and looks the best it can. With an iPad you are restricted to a 4:3 aspect ratio which will leave you with blank space on the top, bottom, and sides of your screen unless you get the perfect screen size for that aspect ratio. Using an iPad to run your system is a great way to start out if you are looking to start on budget and upgrade as you go. Launch monitors like the Mevo+ or SkyTrak are launch monitors where you can download an app to display the data and hit into a net. Again, using only an iOS device will limit the launch monitors that you will be able to use in your sim room and limit the potential that your room can offer!
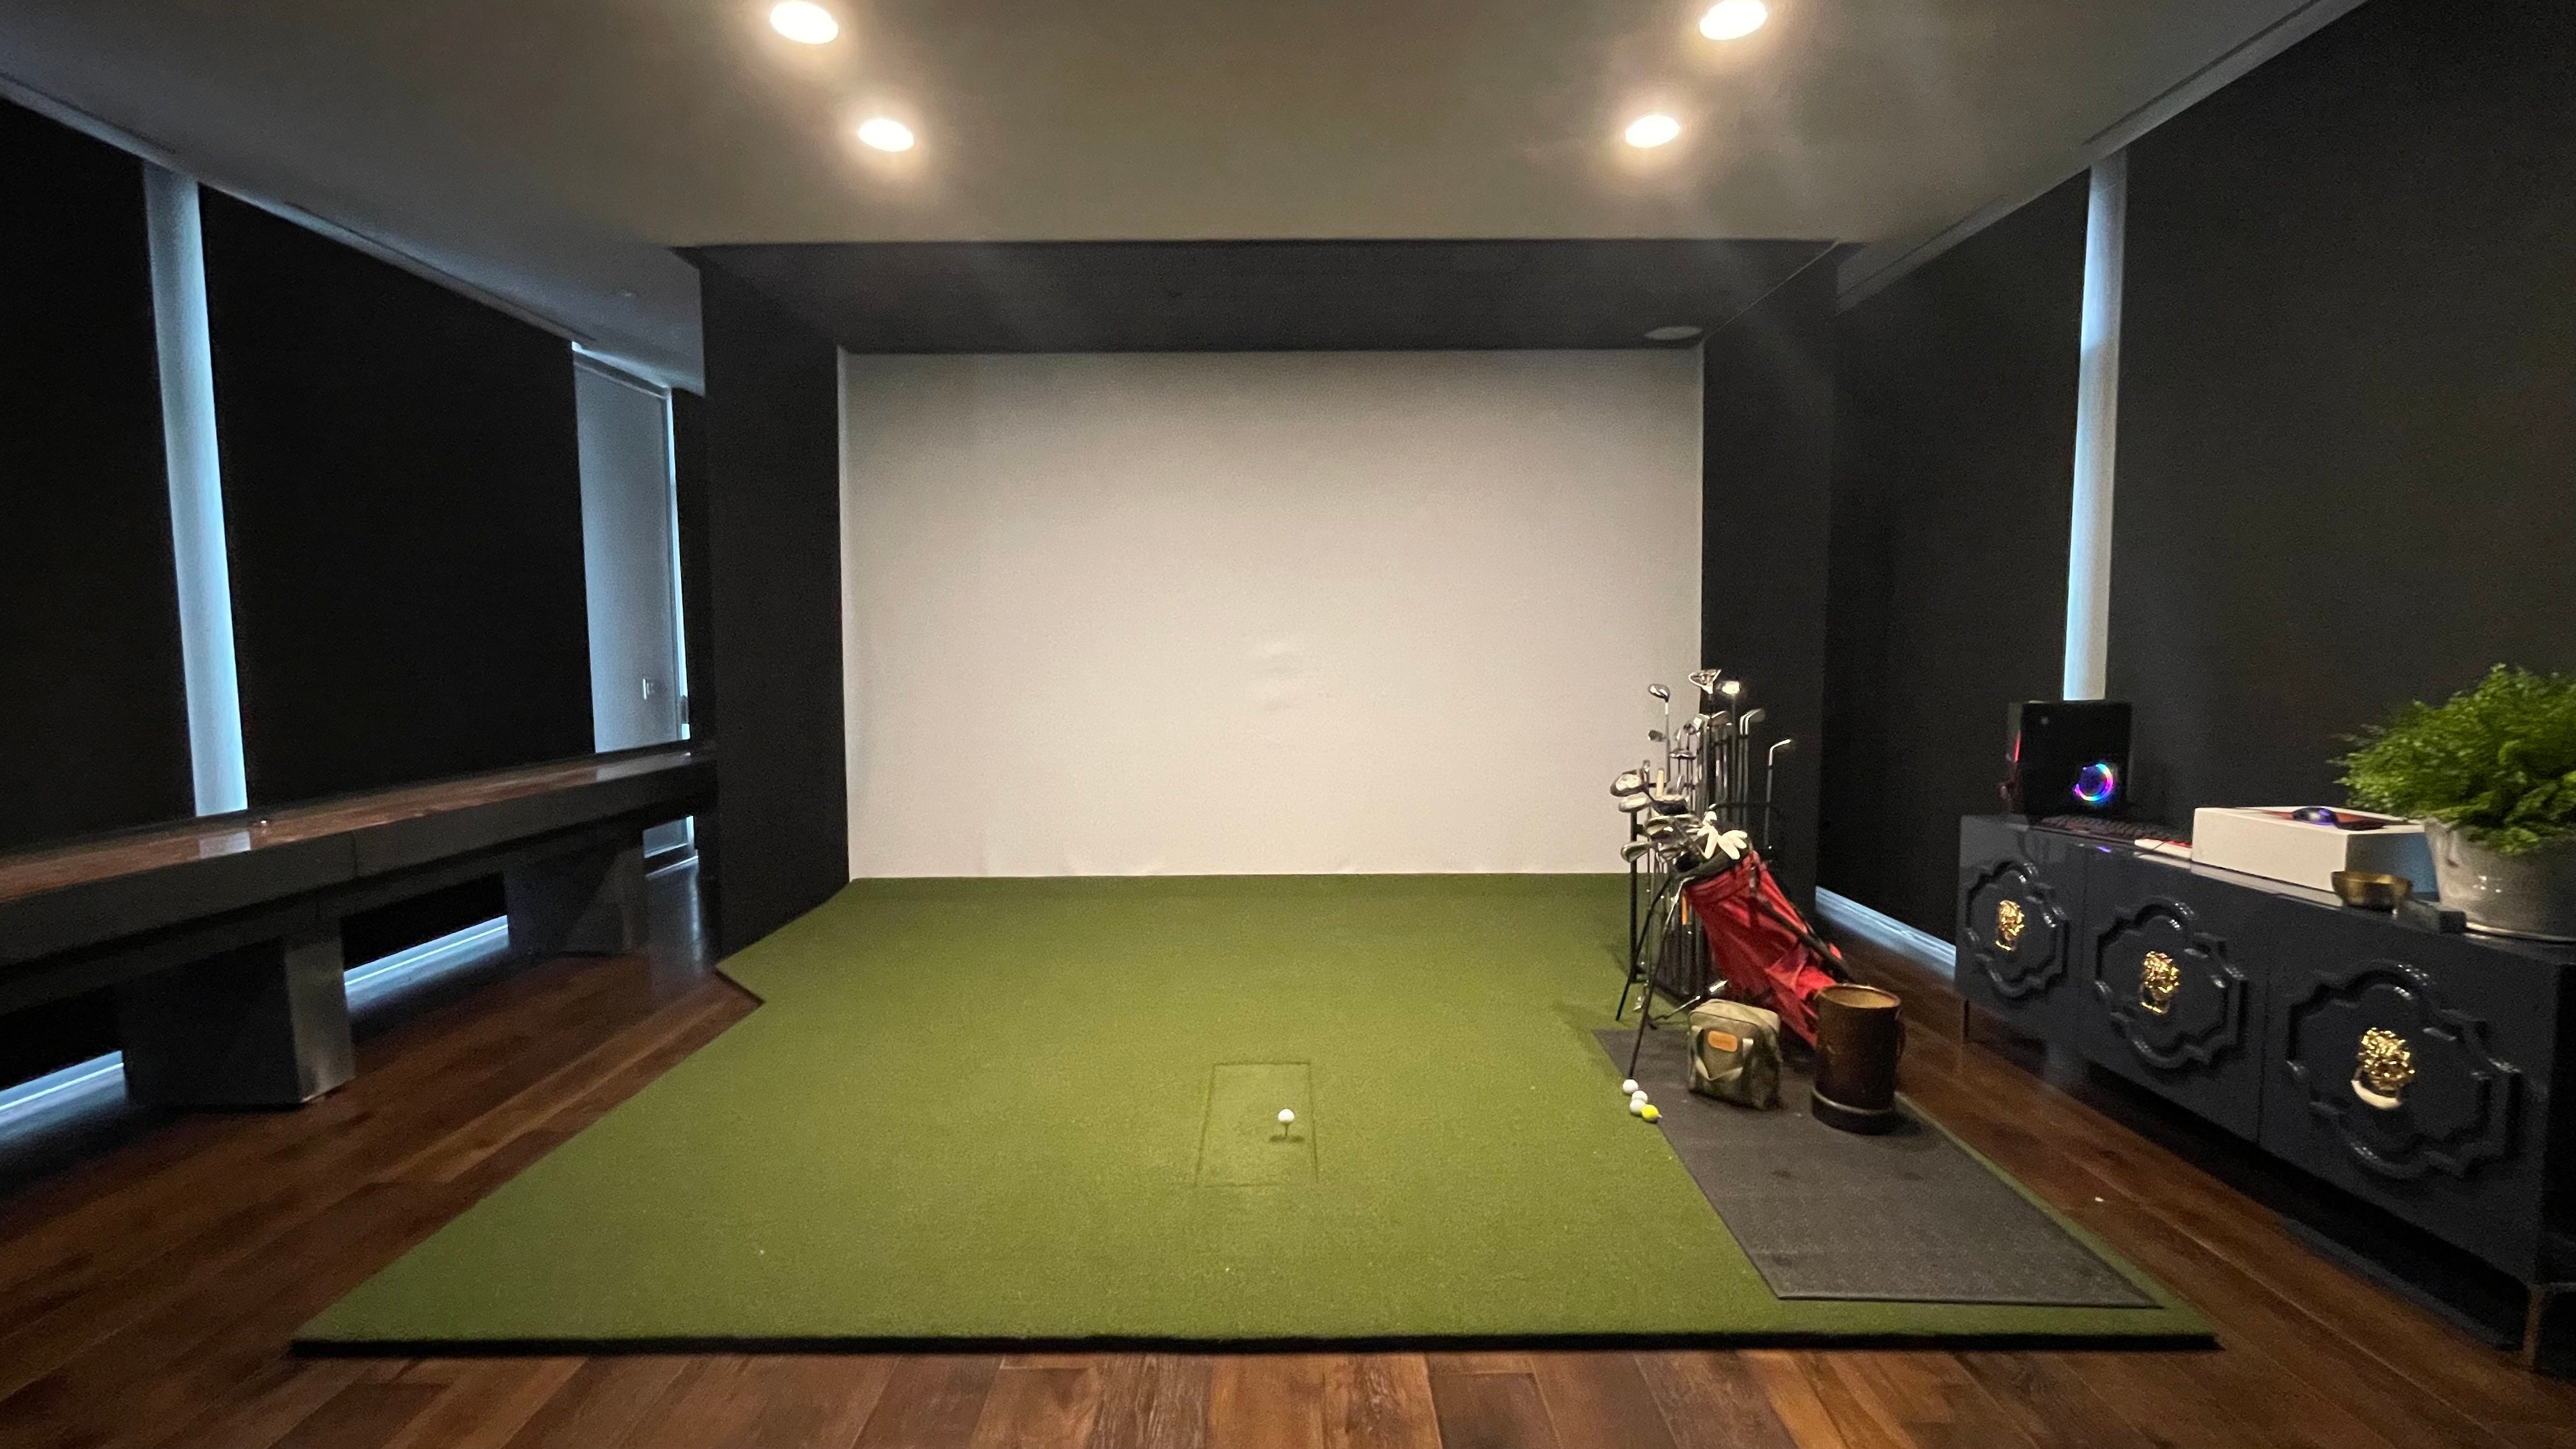
Is lighting important in a sim room?
Lighting is a very important factor in a sim room. Having a room that is dark but also not too dark where the launch monitor can't do its job and read your shots! We have found that the best way to do this is either running a LED track light system on the ceiling over the hitting position, or installing LED canned lights over the hitting position. It is important to have the lights above your hitting area to be on a separate switch than the rest of the lights in the room as this will give you more control over the ambient light in the room. Making sure that the window or doors in the room are either blacked out or have black out shades on them will help enormously to keep out that unwanted light that will wash out the projected image on the impact screen and give you the best experience. It is also important to make sure the light is not installed directly over the golfer as this will create large unwanted shadows. You will want to place the lights either in front of the hitting position or off to the left or right. Typically having them 2.5’ in front and about 4’-5’ apart from each other. Here is a great article on lighting from Gungho Golf! https://gunghogolf.com/articles/indoor-swing-video-lighting.

DID THIS ARTICLE HELP YOU?
If so, please take a moment to show your appreciation by leaving a quick 5-star rating and review (optional) for us on Google Reviews: Yes, I'll do that!

Ron Hornbaker, Founder & CEO
If you haven't yet purchased a launch monitor, or have questions with anything golf sim-related, text us at 512-222-2220 or email hello@gunghogolf.com with questions.
We know the golf sim market can be overwhelming to newcomers. We can work with any budget, and our goal is to get you set up with the best possible equipment and software at the lowest possible price. We love to talk about golf sims, and love helping folks out however we can!
Read more
Golf Simulator Enclosures vs. Golf Simulator Retractable Screens
For avid golfers who want to practice their swing and enjoy the game year-round (and in a fraction of the time of playing a local course), indoor golf simulators are more popular than ever. When se...
Read more
The Gungho Golf Retractable Golf Impact Screen System
If you have ever dreamed of having a professional-grade golf simulator in your home, office, garage, or commercial space, you already know the biggest challenge: dedicated square footage. Most perm...
Read more
